SAR REFERENCE
1. Overview
The public board provides 2 sets of Sar interfaces, and the ADC accuracy of the SAR port is 8bit (the data read back is 10bit).
This article mainly introduces how to configure the sar port and how to use the sar port at the user layer.
2. Dts Config
2.1. Demo Board Supported SAR ADC Interface
| Sar interface | PAD |
|---|---|
| Sar 0 | PAD_SAR_GPIO0 |
| Sar 1 | PAD_SAR_GPIO1 |
2.2. Configure Sar Node Attribute
pioneer3 -demo.dtsi:

2.3. Configure Pin To Sar Mode
Configure the corresponding pin to sar mode in Padmux.
pioneer3-ssc020a-s01a-padmux.dtsi

3. Kernel Config
Kernel config中打开CONFIG_MS_SAR

After configured, recompile the kernel, replace the kernel image to the project to burn
4. UBOOT Test
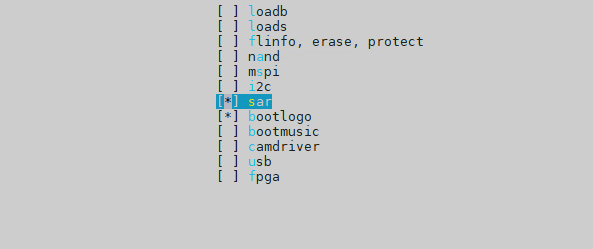
4.1. Enable SAR driver and CMD in Uboot Config
Enable Command line interface -> Device access commands -> sar和 Device Drivers -> Mstar drivers -> SSTAR SAR in menuconfig.

4.2. SAR Test
Compile the uboot which enabled sar driver and cmd, and burn it to the board, then test through SAR cmd.
Command format: sar channel number (the number of channels actually supported depends on the board)

Please refer to boot/common/cmd_sar.c.
5. SAR Control
5.1. Overview
The SAR driver provides the user with an ioctl interface to initialize SAR and obtain the SAR_ADC value.
5.2. Use SAR in Userspace
5.2.1. SAR Device
"/dev/sar”
5.2.2. SAR IOCTL CMD
| IOCTL CMD | Parameter | Description |
|---|---|---|
| IOCTL_SAR_INIT | NULL | initialize |
| IOCTL_SAR_SET_CHANNEL_READ_VALUE | typedef struct { int channel_value; //[IN] int adc_value; //[OUT] } SAR_ADC_CONFIG_READ; channel_value: sar channel number(possible value: 0 or 1) adc_value: sar adc value | Get sar adc value |
5.2.3. Example
#include <stdio.h>
#include <unistd.h>
#include <string.h>
#include <fcntl.h>
#include <errno.h>
#include <sys/types.h>
#include <sys/stat.h>
#include <sys/ioctl.h>

typedef struct
{
    int channel_value;
    int adc_value;
} SAR_ADC_CONFIG_READ;


#define SARADC_IOC_MAGIC                     'a'
#define IOCTL_SAR_INIT                       _IO(SARADC_IOC_MAGIC, 0)
#define IOCTL_SAR_SET_CHANNEL_READ_VALUE     _IO(SARADC_IOC_MAGIC, 1)

int main(void)
{
    int i;
    SAR_ADC_CONFIG_READ  adcCfg;
    adcCfg.channel_value = 0;   //注意:PAD_SAR_GPIO0 = 0 PAD_SAR_GPIO1 = 1 PAD_SAR_GPIO2 = 2

    int fd = open("/dev/sar", O_WRONLY);
    if(fd == -1) {
        int err = errno;
        printf("\n!!! FAILED to open /dev/sar, errno: %d %s\n", err, strerror(err));
        return -1;
    }

    if (ioctl(fd, IOCTL_SAR_INIT, NULL) < 0) {
int err = errno;
        printf("\n!!! IOCTL_SAR_INIT FAILED, errno: %d, %s\n", err, strerror(err));
    }

    for (i=0; i < 500; i++)
    {
        if (ioctl(fd, IOCTL_SAR_SET_CHANNEL_READ_VALUE, &adcCfg) < 0) {
            int err = errno;
            printf("\n!!! IOCTL_SAR_SET_CHANNEL_READ_VALUE FAILED, errno: %d, %s\n", err, strerror(err));
        }
        else {
            printf("SAR: get value %04d, 0x%03x \n", adcCfg.adc_value, adcCfg.adc_value);
        }
        usleep(100000);
}

return 0;
}
6. DEMO
6.1. Kernel Demo
Test code: test_sar.c.
Connect the sliding rheostat and adjust the voltage by adjusting the resistance.

SAR reads 10-bit voltage data to calculate the corresponding voltage value and compares it with the actual measured voltage.
E.g:
0636 corresponds to the voltage: 636 * 3.3 / 1024 = 2.05V, the actual value is 2.08V, which is within the error range.